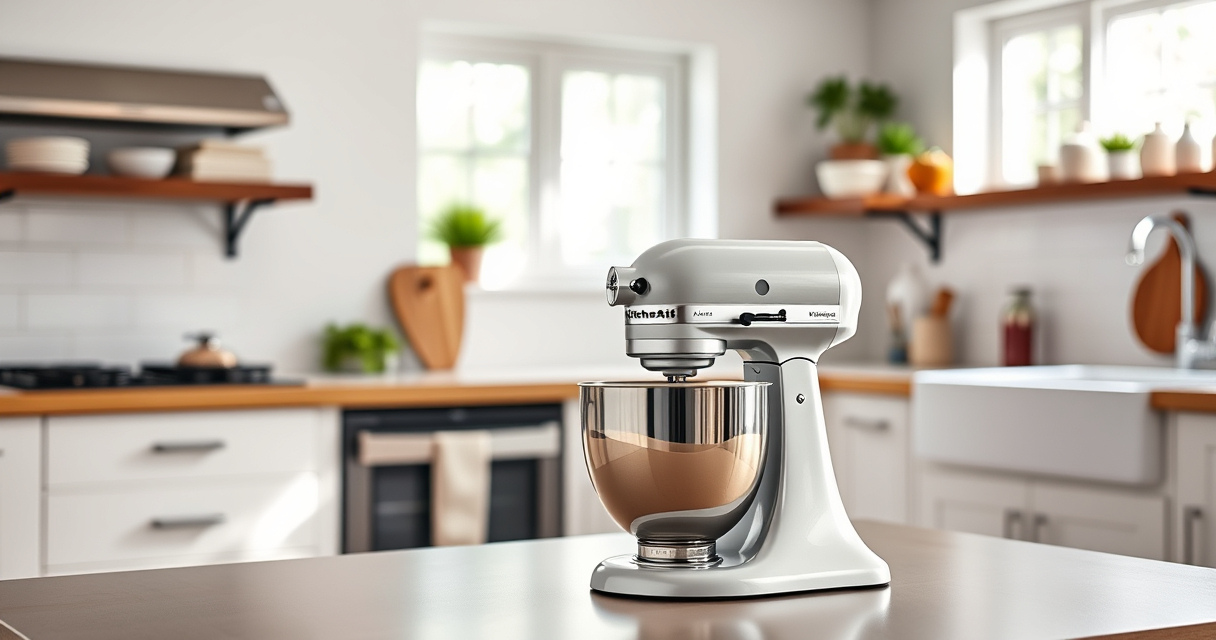

If your KitchenAid Artisan Series 5 Quart Tilt Head Stand Mixer is leaking oil, it can be concerning and may affect its performance. Oil leaks are often caused by worn or damaged internal parts, but they can typically be fixed with some careful troubleshooting and minor repairs. This guide provides practical, step-by-step instructions to help you identify the source of the leak and safely repair your mixer, restoring it to optimal working condition.

Get kitchen staples and gadgets delivered free with Prime
- Fast, free delivery on millions of items
- Prime Video, Amazon Music and more included
- Member-only deals all year
Before starting any repair, ensure your mixer is unplugged and the bowl and accessories are removed. Take your time to follow each step carefully, and always prioritize safety to avoid injury or further damage to your appliance.
Key Takeaways
| Identify the leak source | Check for oil around the gear case, motor, or bowl area. |
| Disassemble carefully | Remove outer casing and internal covers to access the gear housing. |
| Replace worn parts | Focus on gear seals and lubricants to prevent further leaks. |
| Reassemble correctly | Ensure all parts are secured and aligned before closing the mixer. |
| Test the repair | Run the mixer at low speed to confirm the leak is fixed. |
Gather Your Tools and Prepare the Mixer
Before you begin, gather necessary tools such as screwdrivers, a soft cloth, replacement seals or lubricants if needed, and safety gloves. Place the mixer on a stable, flat surface. Unplug the mixer and remove the mixing bowl, beaters, and pouring shield. Wipe away any excess oil or debris around the gear case and motor area to better observe the leak source.
Familiarize yourself with the parts of your KitchenAid Artisan Series 5 Quart Tilt Head Stand Mixer, especially the gear housing, head latch, and internal covers. This preparation helps streamline the disassembly process and reduces the risk of damaging delicate components.
Disassemble the Mixer to Access the Gear Housing
- Remove the top cover: Unscrew the screws securing the tilt-head mechanism or the top casing, depending on your model. Carefully lift the cover to expose internal components.
- Inspect the internal parts: Look for signs of worn or damaged seals, cracks, or excessive oil leakage. Pay special attention to the gear case and surrounding areas.
- Remove the gear housing if necessary: Some models require removing the gear case for thorough inspection. Use appropriate screwdrivers and keep track of all screws and small parts.
Take your time during disassembly to avoid damaging clips or internal wiring. Document the process with photos if needed to assist with reassembly.
Identify and Replace Worn Seals or Lubricants
The primary cause of oil leakage is often worn or degraded seals or excess lubricant escaping from the gear case. Once the gear housing is accessible, carefully examine the seals for cracks or deterioration. If seals are damaged, replace them with new ones designed specifically for your model.
In some cases, over-lubrication can cause oil to seep out. Clean the gear housing thoroughly with a soft cloth and reapply a small amount of recommended grease or lubricant as specified in your user manual. Avoid over-lubricating, as excess oil can leak and cause messes.
Ensure all seals are properly seated and that the lubricant is evenly distributed to prevent future leaks.
Reassemble the Mixer and Test the Fix
- Secure the gear housing back into place, ensuring all screws are tightened properly.
- Replace the top cover or internal casing, and tighten all screws securely.
- Reattach the mixing bowl, beaters, and pouring shield.
- Plug in the mixer and run it at low speed for a few minutes to check for leaks.
If no oil is escaping and the mixer operates smoothly, the repair is successful. If leaks persist, double-check seal placement and lubrication, or consult a professional repair service.
Tips and Warnings for Safe Repair
- Always unplug your mixer before disassembly to avoid electrical shock.
- Wear gloves to protect your hands from sharp edges inside the mixer.
- Use only manufacturer-recommended seals and lubricants to prevent damage.
- Do not force parts apart or together; gentle, steady pressure is best.
- If unsure about any step or if the leak persists, seek professional repair assistance.
Proper maintenance and timely repair will prolong your KitchenAid stand mixer’s lifespan and ensure safe, efficient operation.
The Products in This Guide

KitchenAid Artisan Series 5 Quart Tilt Head Stand Mixer
- ✔ Voltage: 120V
- ✔ Warranty: 1-year limited
- ✔ Included Accessories: Pouring shield, flat beater

KitchenAid Stand Mixer Attachment
- ✔ Weight: 4.5 pounds
- ✔ Dimensions: 8 x 6 x 12 inches
- ✔ Warranty: N/A
KitchenAid Artisan Series 5 Quart Tilt Head Stand Mixer
The KitchenAid Artisan Series 5 Quart Tilt Head Stand Mixer is known for its durability and versatile performance. It features a sturdy metal construction, 59 touchpoints for thorough mixing, and a tilt-head design for easy ingredient addition. Its powerful motor and multiple speed settings make it suitable for various recipes, from light whipping to heavy doughs. This model is a trusted choice for both amateur and professional bakers alike.
Pros:
- Durable metal construction
- Easy tilt-head access
- Powerful motor with 10 speeds
- Large 5-quart bowl
Cons:
- Heavy to move
- Can be noisy at high speeds
- Requires regular maintenance of seals
Best for: Bakers who need a reliable, heavy-duty stand mixer for frequent use.
Not ideal for: Those seeking a lightweight or compact mixer for small kitchens.
Bottom line: A durable, high-performance stand mixer ideal for serious bakers.
KitchenAid Stand Mixer Attachment
Enhance your KitchenAid stand mixer with the Metal Food Grinder attachment, perfect for grinding meats, vegetables, and more. It connects easily to the power hub, providing a powerful and efficient grinding experience. Its multiple plates and sausage stuffer tubes make it a versatile addition to your kitchen toolkit.
Pros:
- Multiple grinding plates
- Easy to attach
- Large food tray
- Sturdy metal build
Cons:
- Requires cleaning after use
- Additional cost
- Bulkier storage
Best for: Home cooks wanting to make fresh ground meats and vegetables.
Not ideal for: Users seeking a compact or budget-friendly grinder.
Bottom line: A durable and efficient attachment for fresh grinding needs.
Frequently Asked Questions
Why is my KitchenAid mixer leaking oil?
Oil leaks usually occur due to worn or damaged seals inside the gear housing, or excessive lubrication. Regular maintenance and timely replacement of seals can prevent leaks.
Can I fix the oil leak myself?
Yes, with proper tools and careful disassembly, you can replace seals or re-lubricate your mixer. However, if you’re uncomfortable, professional repair is recommended.
What parts do I need to replace?
Typically, you’ll need new gear seals or o-rings designed for your model. Refer to your user manual or contact KitchenAid for specific parts.
Is it safe to run the mixer after fixing it?
Absolutely, but ensure all parts are securely reassembled, and no oil leaks are visible before use. Always test at low speeds first.
How often should I maintain my KitchenAid mixer?
Regularly check for leaks, clean the exterior, and lubricate moving parts as recommended in your user manual, typically every few months depending on usage.
Keep Your Mixer Running Smoothly
Addressing oil leaks promptly ensures your KitchenAid Artisan stand mixer remains reliable and safe to use. Regular inspection of seals and proper maintenance extend its lifespan and prevent costly repairs. Follow the outlined steps carefully, and don’t hesitate to seek professional help if needed. With a little effort, your mixer will continue to deliver excellent results for years to come.
Affiliate disclosure: As an Amazon Associate we earn from qualifying purchases. Prices and availability are accurate as of the time of publishing.
NFL season / tailgating Picks
team gear
As an affiliate, we earn on qualifying purchases.