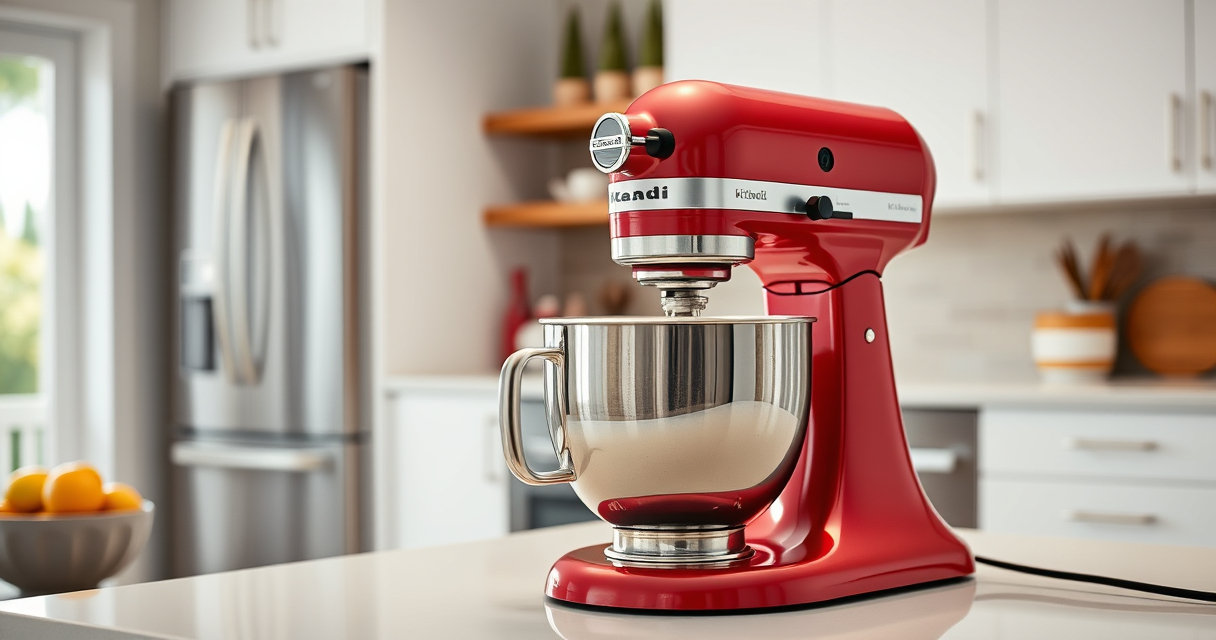

If your KitchenAid Artisan Series 5 Quart Tilt Head Stand Mixer starts making a grinding noise, it can be concerning and disruptive. This common issue often points to a mechanical problem that can be fixed with some basic troubleshooting. Before panicking or replacing your mixer, try these safe and effective steps to identify and resolve the source of the noise. Proper maintenance and understanding of your mixer’s components will help keep it running smoothly for years to come.

Get kitchen staples and gadgets delivered free with Prime
- Fast, free delivery on millions of items
- Prime Video, Amazon Music and more included
- Member-only deals all year
In this guide, we’ll walk you through practical steps to diagnose and fix the grinding noise. Whether it’s a simple adjustment or a component replacement, these instructions are designed to be safe, clear, and based on the features of your model.
Key Takeaways
| Identify the noise source | Grinding often comes from gears or brushes. |
| Check for debris | Loose particles can cause grinding sounds. |
| Inspect the gears | Worn or damaged gears are common culprits. |
| Examine the motor brushes | Worn brushes can create grinding noises. |
| Perform routine maintenance | Regular cleaning and lubrication extend mixer life. |
Step 1: Unplug and Prepare
- Ensure the mixer is unplugged from the power outlet for safety.
- Remove the attachment and the mixing bowl to access internal components.
- Check the exterior for any obvious debris or buildup around the gear housing.
Step 2: Inspect the Gears and Drive Assembly
Open the top head of the mixer to access the gear housing. Carefully remove the cover following your model’s instructions. Examine the gears for signs of wear, chipping, or misalignment. Look for any debris lodged between the gears that could cause grinding sounds. If you notice worn or damaged gears, they should be replaced to restore smooth operation.
Step 3: Check and Replace Motor Brushes
Many KitchenAid mixers use carbon brushes to power the motor. Worn brushes can create grinding noises or reduce motor efficiency. To inspect, locate the motor housing (refer to your user manual). Carefully remove the brushes and examine their length and condition. If they’re significantly worn down or damaged, replace them with compatible new brushes, available through KitchenAid or appliance parts suppliers.
Step 4: Clean and Lubricate Moving Parts
- Use a soft brush or compressed air to remove dust, dirt, or food particles from gears and moving parts.
- If your model allows, apply food-grade lubricant sparingly to the gear assembly to ensure smooth rotation. Avoid over-lubricating, as excess can attract debris.
Step 5: Reassemble and Test
Carefully reattach the gear cover and any removed parts. Plug the mixer back in and run it on a low speed to observe if the grinding noise persists. If the noise is gone, your repair was successful. If not, further investigation or professional servicing may be needed.
The Products in This Guide

KitchenAid Artisan Series 5 Quart Tilt Head Stand Mixer
- ✔ Voltage: 120V
- ✔ Frequency: 60Hz
- ✔ Warranty: 1 year

KitchenAid Stand Mixer Attachment
- ✔ Power: N/A
- ✔ Color: Metal finish
- ✔ Warranty: N/A
KitchenAid Artisan Series 5 Quart Tilt Head Stand Mixer
The KitchenAid Artisan Series 5 Quart Tilt Head Stand Mixer is built for versatility and long-lasting performance. Its sturdy metal construction and 59 touchpoints ensure thorough mixing, making it a reliable kitchen companion. Regular maintenance can prevent issues like grinding noises, keeping it in top shape.
Pros:
- Robust metal construction
- Easy tilt-head access
- Multiple speed options
- Large 5-quart bowl
- Dishwasher safe parts
Cons:
- Can be heavy to move
- Gears may wear over time
- Requires occasional maintenance
Best for: Home bakers and cooking enthusiasts seeking a durable, high-capacity mixer.
Not ideal for: Commercial use or heavy-duty industrial baking.
Bottom line: A reliable, high-performance mixer with straightforward maintenance.
KitchenAid Stand Mixer Attachment
If your mixer’s grinding noise is related to worn gears or if you want to expand its functionality, the KitchenAid Metal Food Grinder attachment is a great addition. It connects seamlessly to your mixer’s power hub, making food prep more versatile and efficient.
Pros:
- Multiple grinding plates included
- Sturdy metal construction
- Easy to attach and use
- Creates fresh, high-quality ground foods
Cons:
- Additional cost
- Requires cleaning after use
- Attachment sold separately
Best for: Homemade ground meats, vegetable grinding, and sausage stuffing.
Not ideal for: For those who only need basic mixing functions.
Bottom line: A versatile attachment that enhances your mixer’s capabilities.
Frequently Asked Questions
What causes grinding noises in a KitchenAid stand mixer?
Grinding noises typically result from worn or damaged gears, motor brushes, or debris caught in the gear assembly.
Can I fix the grinding noise myself?
Yes, many issues like debris removal, gear inspection, or brush replacement can be handled safely at home with proper guidance and tools.
Is it safe to open the mixer myself?
Only attempt opening the mixer if you are comfortable with small appliance repairs and unplugged the unit. Follow safety precautions and refer to your manual.
How often should I perform maintenance on my KitchenAid mixer?
Regular cleaning after every few uses and periodic inspection of gears and brushes will help prevent issues like grinding noises.
When should I replace parts instead of repairing?
If gears are chipped, excessively worn, or motor brushes are fully worn down, replacing these parts is recommended for safety and performance.
Keep Your KitchenAid Mixer Running Smoothly
With a little troubleshooting and routine maintenance, you can often resolve the grinding noise in your KitchenAid Artisan stand mixer without professional help. Regularly inspecting internal components like gears and motor brushes, cleaning debris, and applying lubrication can extend the life of your appliance and ensure it continues to perform at its best. If problems persist after troubleshooting, consider replacing worn parts or consulting a professional technician for a thorough repair.
Affiliate disclosure: As an Amazon Associate we earn from qualifying purchases. Prices and availability are accurate as of the time of publishing.
NFL season / tailgating Picks
team gear
As an affiliate, we earn on qualifying purchases.