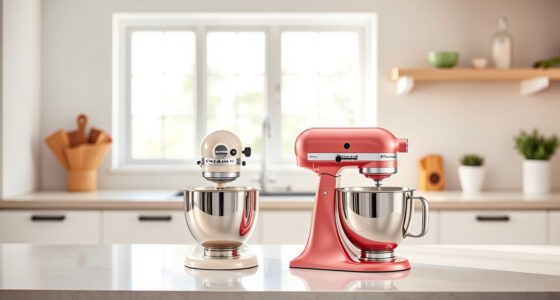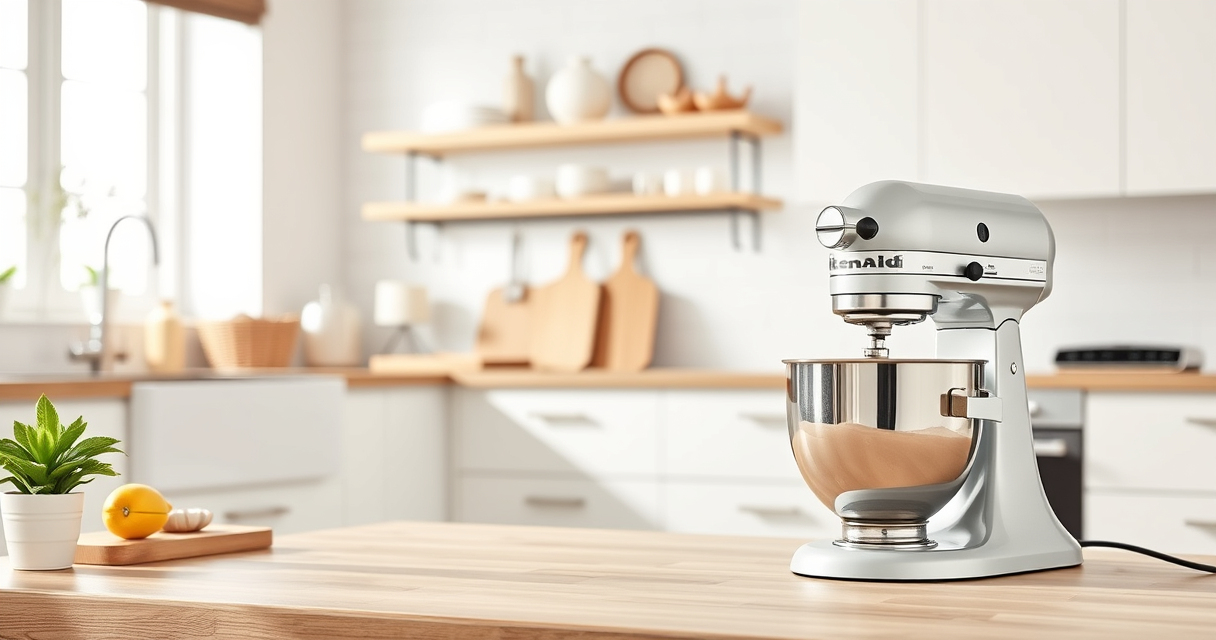

Maintaining your KitchenAid Classic Stand Mixer is essential for its longevity and optimal performance. Regular cleaning removes food residues, grease, and dust, ensuring your mixer operates smoothly and safely. This guide provides clear, practical steps to clean your mixer thoroughly without damaging it.

Get kitchen staples and gadgets delivered free with Prime
- Fast, free delivery on millions of items
- Prime Video, Amazon Music and more included
- Member-only deals all year
Follow these instructions carefully to keep your appliance in top condition and ready for your next baking session.
Key Takeaways
| Safety First | Always unplug before cleaning to avoid electrical hazards. |
| Use Appropriate Tools | Soft cloths and gentle brushes prevent damage. |
| Avoid Water Damage | Keep electrical parts dry and avoid submerging the motor. |
| Regular Maintenance | Clean after each use to prevent buildup. |
| Focus on Removable Parts | Be sure to clean beaters, bowls, and attachments separately. |
Unplug and Disassemble
- Ensure the mixer is unplugged from the electrical outlet.
- Remove all attachments such as beaters, whisks, or dough hooks.
- Detach the mixing bowl and set aside.
Clean Attachments and Bowl
- Wash the beaters, whisks, and dough hooks with warm, soapy water. For stubborn residue, soak them briefly before scrubbing gently with a soft brush.
- Wash the mixing bowl with warm, soapy water or place it in the dishwasher if it’s dishwasher safe (check the manufacturer’s instructions).
- Rinse thoroughly and dry completely with a clean towel.
Wipe Down the Mixer Body
Use a slightly damp cloth with mild dish soap to wipe the exterior of the mixer. Avoid using abrasive cleaners or immersing the mixer in water. Pay special attention to crevices and control areas, but do not allow water to enter electrical components.
Clean the Mixer Head and Ventilation Areas
- Use a dry or slightly damp cloth to wipe the head and control panel.
- If necessary, use a soft brush to clear dust or debris from the ventilation slots.
- Ensure all parts are dry before reassembling.
Reassemble and Maintain
Once all parts are dry, reassemble the mixer. Regularly inspect the attachments and moving parts for wear and replace as needed. Store your mixer in a clean, dry place to prevent dust buildup.
The Products in This Guide

Stainless Steel Flat Beater
- ✔ Weight: Approx. 1.2 lbs
- ✔ Length: 7 inches
- ✔ Warranty: Manufacturer’s 1-year

KitchenAid Stand Mixer Attachment
- ✔ Weight: 2.5 lbs
- ✔ Dimensions: 8 x 6 x 4 inches
- ✔ Warranty: Manufacturer’s 1-year
Stainless Steel Flat Beater
This stainless steel flat beater is engineered for superior strength and longevity, perfect for handling thick doughs and batters without bending or breaking. Its seamless compatibility with 4.5-5 Qt tilt-head mixers makes it a versatile choice for frequent bakers.
Pros:
- Heavy-duty durability
- Dishwasher safe
- Perfect fit for popular models
- No paint chipping
Cons:
- May be heavier than coated paddles
- Requires thorough cleaning to prevent food buildup
Best for: Heavy-duty baking and mixing tasks
Not ideal for: Light, delicate mixing or quick tasks
Bottom line: A sturdy, long-lasting beater ideal for heavy-duty baking.
KitchenAid Stand Mixer Attachment
This metal food grinder attachment transforms your KitchenAid mixer into a powerful tool for fresh grinding. Its durable construction and multiple plates make it perfect for creating sausages, ground meats, and more, adding freshness to your meals.
Pros:
- Multiple grinding plates
- Large food tray
- Easy to clean
- Sturdy build
Cons:
- Requires pre-chilling for best results
- Attachment not included with mixer
Best for: Meat grinding, sausage making, food prep
Not ideal for: Light mixing or baking tasks
Bottom line: A robust attachment for fresh, homemade grinding needs.
Frequently Asked Questions
Can I put all parts in the dishwasher?
Most removable parts like beaters and bowls are dishwasher safe, but check your specific model’s instructions. Avoid dishwasher cleaning of the mixer head itself.
How often should I clean my mixer?
It’s best to clean your mixer after each use, especially if you’ve handled sticky or greasy ingredients, to keep it in optimal condition.
What should I do if my mixer smells or has residue?
Wipe the exterior and removable parts regularly. For lingering odors, clean with a mixture of baking soda and water, then wipe dry.
Can I use abrasive cleaners?
No, avoid abrasive cleaners or scrubbers that could scratch the finish. Use soft cloths and mild soap for cleaning.
Keep Your KitchenAid Classic Running Smoothly
Regular cleaning is key to maintaining your KitchenAid Classic Stand Mixer’s performance and lifespan. By following these simple steps, you ensure your mixer remains in excellent condition, ready for your next culinary creation. Proper care not only prolongs its life but also keeps your food tasting great and your kitchen safe.
Affiliate disclosure: As an Amazon Associate we earn from qualifying purchases. Prices and availability are accurate as of the time of publishing.
Fall Picks
fall essentials
As an affiliate, we earn on qualifying purchases.